Transparent Sunglasses
Intro
In this sunglasses tutorial I'll show you how photo-realistic materials and environment can be created.
While reading this article I recommend you to open the blend file of this scene and look at the described moments right in Blender. You can find the blend file in the free Blend4Web SDK or on GitHub at deploy/tutorials/sunglasses.
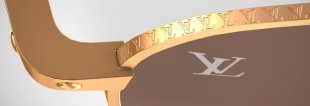
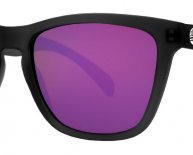
Below you can find the reference image and the interactive embedding of the final model, one under another.
Preparing the Model
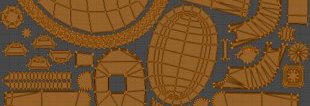
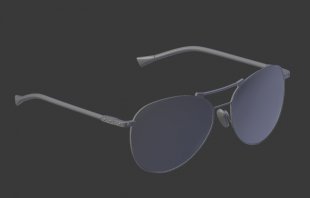 Our story starts from a high-poly model. I envisioned the final scene and decided to create a middle-poly model (via high-poly retopology) first and then to edit its normals.
Figure 1. High-poly model.
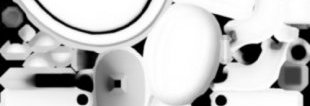
Normals editing can sometimes help us to get rid of normal maps. The drawback of this method is that it requires quite a large number of polygons. Therefore you should decide what is the best option for each scene. In this scene I used normals editing for "global" influence and normal maps for "local" influence on the normals.
Figure 2. Normal maps.
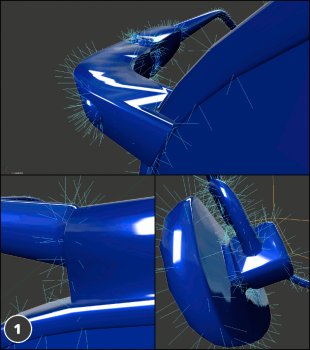
 In the cases when I edit normals for numerous surfaces I use a trick to save my time, especially if I need to edit the mesh itself after editing its normals. I create a copy of the object and delete those polygons that adversely influence the surface normals:
Figure 3.
1. Main model with unedited normals.
2. Auxiliary model which has distorting polygons removed (on bevels).
3. Main model to which auxiliary model's normals are copied using the Copy From Mesh tool.
At this stage the model is ready and we can proceed to UV unwrapping.
UV Unwrapping
 Before unwrapping the model it is highly advisable to take into account some Blend4Web peculiarities. A single mesh cannot have more than 2 UV layers and more importantly normal maps always use the first UV layer in the list. Two UV layers are quite sufficient for objects of any complexity. In most cases I use one of the UV layers for baking various maps and the other - for tiling textures.
Figure 4. UV layer for baking.
Figure 5. UV layer for tiling textures.
Textures
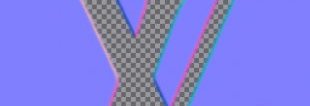
For this scene I have used the first UV for baking and layering ambient occlusion texture only.
Figure 6. Ambient occlusion texture.
The "LV" label is present on the sunglasses in two places - as embossings on the sunglasses rim and as a transparent legend in the one of the lenses corner. That's why I have decided to combine the embossing normal map and a grayscale texture used for making the lense corner legend transparent.
Share this article
FAQ

How does one tell the gender of sunglasses? - Quora
The size of sunglasses is measured in the lens size, across the lens horizontally in mm.
The Ray Ban Small Aviator, RB 3044 is a 52mm lens.

What is the size difference between large and small Ray Ban aviators? - Quora
Ray Ban aviators come 4 sizes, split across two models.
The size of sunglasses is measured in the lens size, across the lens horizontally in mm.
The Ray Ban Small Aviator, RB 3044 is a 52mm lens.
Related Posts
Latest Posts


